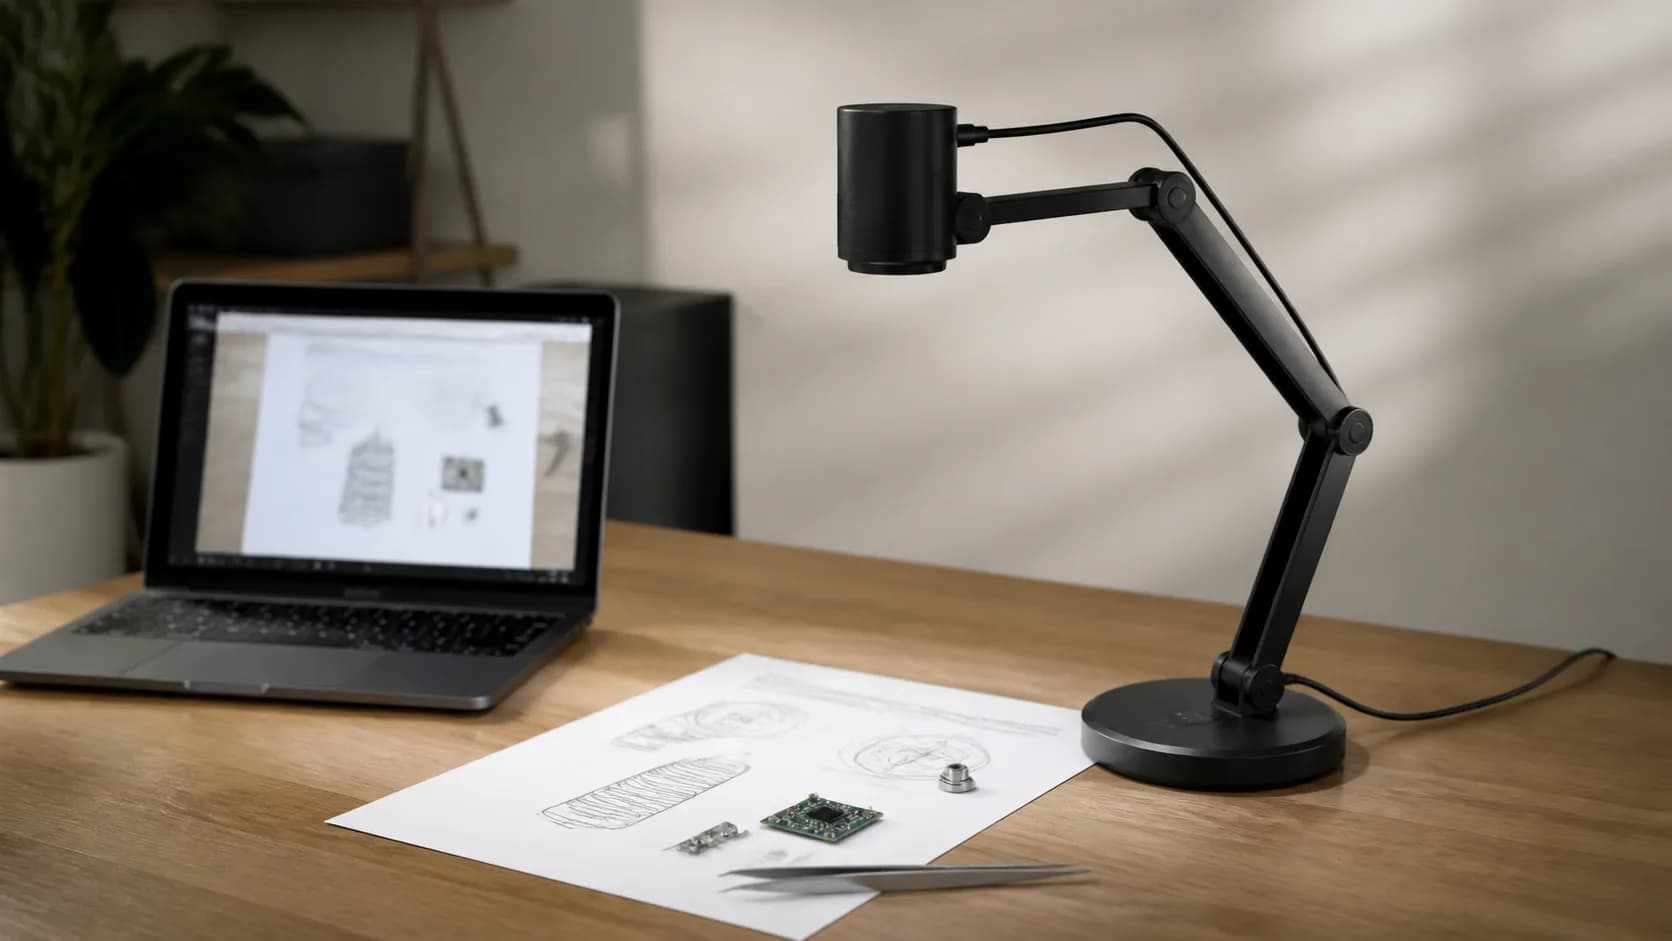
Measure the demonstration area
Choose the largest sheet, book, circuit board, craft, or product you regularly show. Mark its footprint and the camera position on the desk. Compare the required field of view at a practical arm height, leaving room for hands and tools. A camera that captures a letter page only from an unstable maximum extension is not a good fit.
Match focus behavior to moving hands
Continuous autofocus can help with objects at changing heights but may pulse when a hand enters the frame. Manual focus or focus lock can be better for handwriting and fixed work. Check close-focus distance, exposure compensation, white balance, image rotation, mirroring, and whether controls work in the chosen app or only in vendor software.
Design the stand and light as part of the image
A rigid arm and weighted base often improve legibility more than extra pixels. Look for hinge drift, desk vibration, cable pull, shadow from the camera head, glossy-page glare, and flicker from room lighting. Use diffuse side lighting and preserve an unobstructed work area rather than pointing one harsh lamp straight down.
Verify the complete software path
Confirm the operating system, USB connector and bandwidth, driver policy, UVC recognition, app camera selection, maximum transmitted resolution, screen sharing, recording, and any managed-computer restrictions. Make a local recording in the actual meeting platform; a camera's capture resolution may be reduced by the app or network.
When a webcam or phone mount is enough
Use an existing webcam on a secure overhead mount when it already covers the field, focuses reliably, and leaves controls accessible. A phone can offer excellent image quality but adds battery, notification, mount, app, and account friction. Buy a dedicated document camera when repeatable deployment and a stable working area are the real needs.