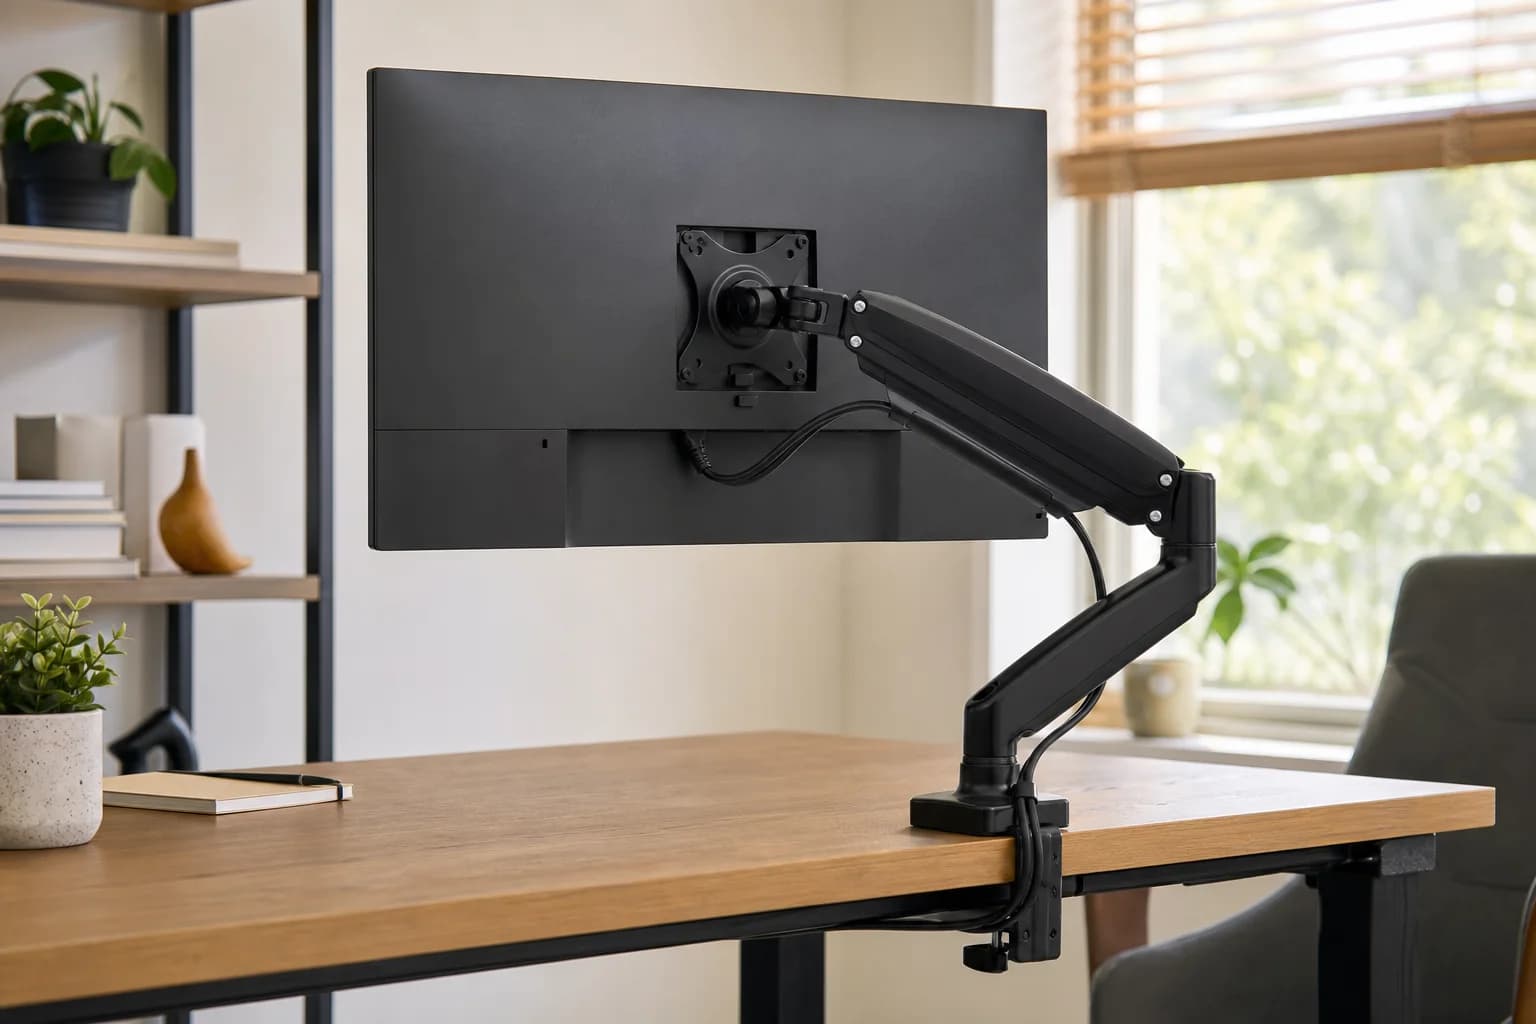
Identify the desktop before choosing a plate
A desk that looks like wood may use particleboard, a thin veneer, or a hollow core. Ask the manufacturer which mounting methods it permits for the exact top. Look for swelling, cracks, loose joints, or an unsupported rear lip. Do not infer clamp suitability from the desk's overall weight capacity: a distributed load on the surface and the concentrated force at a clamp are different conditions. If the maker prohibits clamping, a plate is not an exception.
Add the plates to the clamp measurement
Measure the top at the actual mounting position, then add every plate that will sit between the clamp jaws. As a purely illustrative calculation, a 25 mm top plus two 3 mm plates creates a 31 mm assembly; that number still has to fit the chosen arm's instructions. Check the screw's reach and the contact shape as well as nominal thickness. Ergotron's HX attachment drawings show why mount dimensions must be checked by model; their limits should not be applied to a different arm.
Inspect underneath with the desk in its final position
Find the metal apron, cable tray, drawer box, and any chamfered edge. Both clamp contact faces should sit as the arm manufacturer intends, rather than having one edge suspended or resting on a moving part. A reinforcement plate with a large upper footprint can still have an obstructed lower jaw. Photograph and measure the proposed attachment area before ordering so that you can compare it with the installation drawing without relying on a product-page photograph.
Check the load with the arm extended
Read the arm's display weight range and VESA requirements, including any limits for curved or unusually deep screens. Moving the display farther from the clamp changes the leverage on the attachment, so a mount that appears stable when folded may behave differently in use. Follow the maker's assembly and tension procedure. Do not invent a tightening torque, add extra displays, or keep tightening to compensate for a deforming top. Stop if the surface moves, cracks, or compresses.
Choose another attachment when the clamp checks fail
A grommet mount is an alternative only when both the arm and desktop support the hole size and attachment method. A freestanding monitor base or another manufacturer-approved mounting location may be the better choice when the rear edge is unsuitable. After installation, check the attachment and cable slack during normal repositioning and standing-desk travel. Treat a newly visible gap or dent as a reason to stop and inspect, not as evidence that a larger plate alone will solve it.